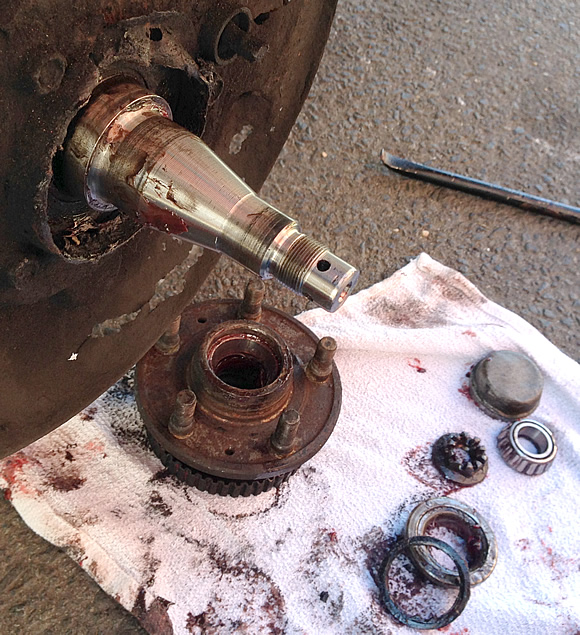
 Back in the summer of 2011 I changed the bearing on my left, front wheel and made a note to myself that the process was easy, but messy. I figured I’d get around to the right bearing soon afterward. Well, I finally got around to doing the right wheel two years later.
The process is pretty straight forward. You can see a good step-by-step on the Brickboard so I’m not going to bother documenting it here. I will say this, however: be careful not to get any of that bearing grease on your brake pads and/or rotor. I thought I had done the job well but apparently I got a little glob onto the rotor. Once I got the wheel back on and started driving I noticed inconsistent braking and long stopping distances. I swapped in new pads and cleaned the rotor and that fixed the problem.
Everything is nice and tight now and I’m rolling smoothly. Maybe now I’ll finally get around to putting on my front shocks since it’s been over a year since I installed the rears!
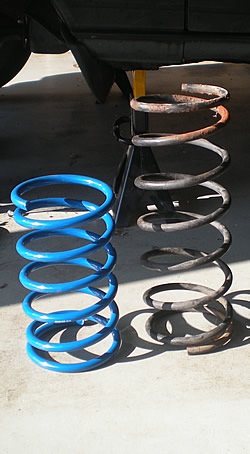
 The ipd Sport Springs are installed now and they ride great. At left are the driver-side springs, new and old. I can’t believe how much shorter the new spring is when they’re unsprung. It made installation easier than removal because we didn’t need to compress the coil. The new spring was so much shorter that it slipped right in without much compression. On the ground the car now rides only about 2″ shorter in the front, not nearly as much difference as these uninstalled springs look.

